Gameboy Zero
This project I totally not related to what usually I do, but my curiosity and the memories of my childhood made me work on this project. I was chilling out using my laptop, when all in the sudden a wild console appears, it was a (complete) modification of a Gameboy classic, it was using a Raspberry Pi Zero (Rpi Zero) in order to emulate almost all retro consoles. I fall in love immediately, so naturally, I started to build my own. I followed this tutorial. Great tutorial, he has his own blog (here) and he uploaded some videos to help us through (here), clearly this won’t be a post of “how to build it”, rather than just some advice for people trying to build one of these in Colombia (more exactly Bogotá). The idea is to end up with this new kind Nintendo Gameboy.
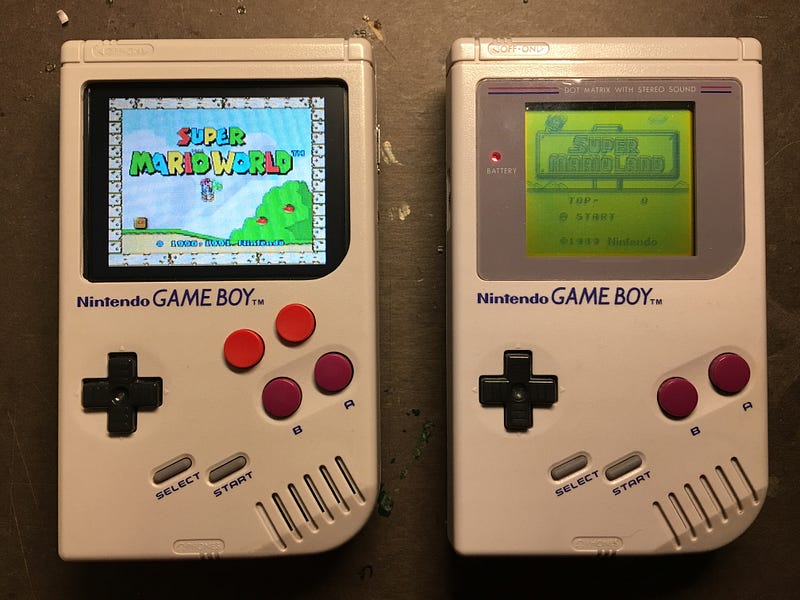
Taken from sudomode.com
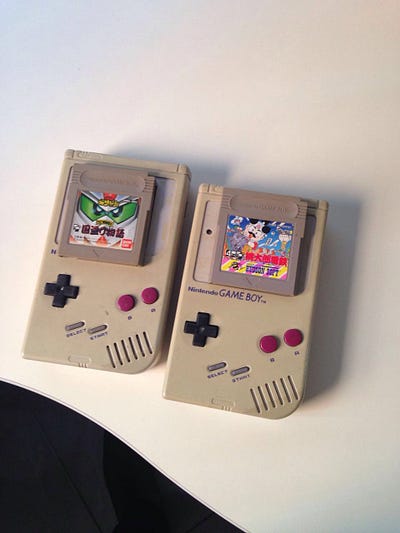
Obviously, the modified Nintendo is the one on the left. Basically, I will use it for tree games, pokemon (the classic game for Gameboy colour), Zelda and contra, those will be the ones in which I’ll spend most of the time playing in the Nintendo.
it is pretty hard to find some stuff in Bogota, so most of the times it will be necessary to buy something quite similar but not the same used in the original Nintendo zero.
Here is a list of the materials I used (perhaps it is incomplete):
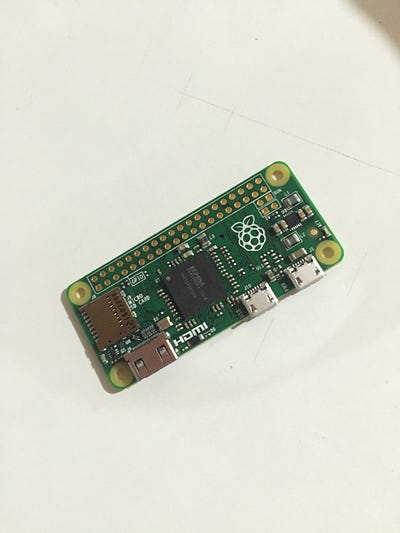
- Raspberry Pi Zero …………………………………….…. 168.000,00
- Nintendo Gameboy Classic Case ……………….……… 35.000,00
- Nintendo Gameboy Classic Game ……………..……… 10.000,00
- Emery (Esmeriles) (la lijas para perforar el Nintendo). 13.000,00
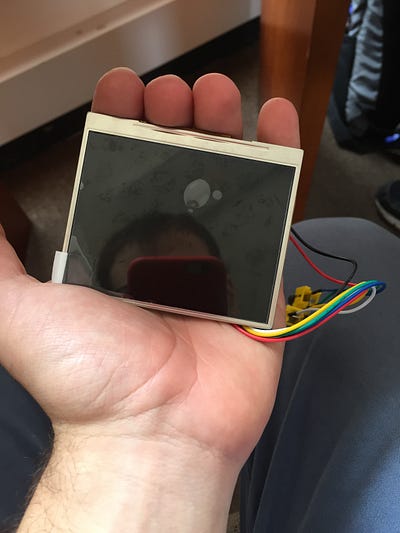
- Display …………….………………………….………… 140.000,00
- Tennsy (here) ……………………………….………….. 68.000,00
- Energy regulator (here) …………………….…………. 68.000,00
- Battery …………………………………………………..
- Speakers
- Buttons ..………………………………………………….. 2.000,00
There is some stuff that we can find and is exactly the same as in the videos. Obviously the Raspberry Pi Zero, but it would be better to buy it in the US and then send it here (it is pretty expensive), the Display exactly the same, can be bought here, but I would recommend using another display, otherwise by buying the same components the Nintendo will cost around 400.000 COP. The rest of the items are not the originals.
Technologies used:
- Retropi
- Raspberry
- Drill
- Mounted Stone
- Electronics
Fast review
Building the Nintendo was pretty simple (having in mind that I have a pretty giant toolbox on the first floor of my house), the difficult part was to get the components, for example, the controls just took me a trip downtown (san andresito) to buy two Play Station 1 controls (2.000 COP each), I got the emery and the display close to the university, one of the hardest part was to get the broken Nintendo, here you can buy one for around 20.000COP (but if you want it with the little battery cover it is around 25 or 35.000 COP, I got two by asking in every arcade console group in Facebook (this and this are great groups where you can find yours).
Now I would like to give some advice about the different materials and useful tips when you’re building your own.
About the display
As I already said you should try to get a similar display, in mercadolibre you can find very decent displays for RPi, you should first test them in the RPi in order to find out if they work properly with those games, those displays (3.5’’) cost around 50.000COP, pretty good price compared with the 140.000COP for the other display.
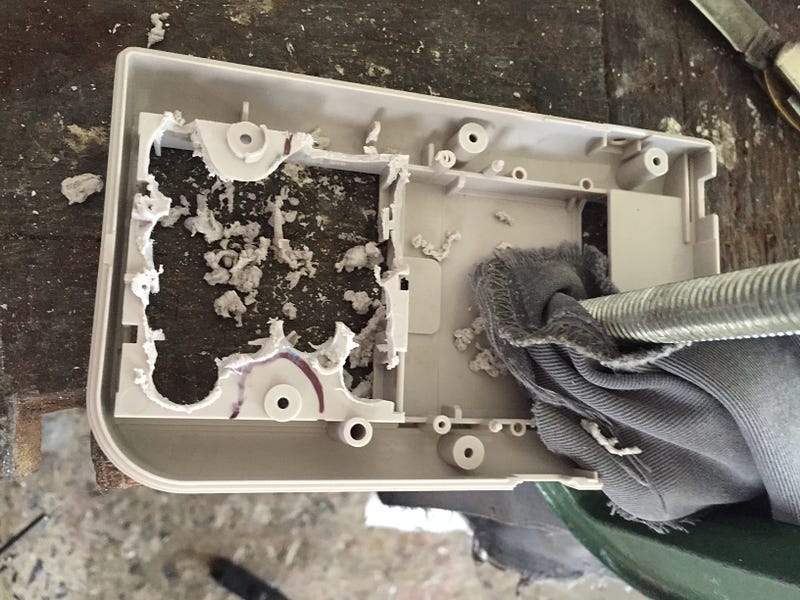
About the case
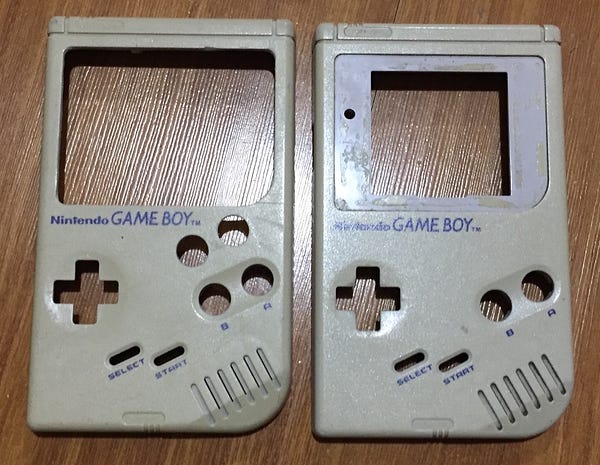
There is not too much to mention here, you should be very very careful when handling the case while drilling, it is not that delicate but you can dent it very easily, to get the emery (or mounted stones) just ask for “esmeriles” in any hardware store, you will need only two, a very thin emery and a very big one, don’t buy the whole combo of 8 esmeriles and of course you have to have a drill. Here are some pics about the process of drilling the case.
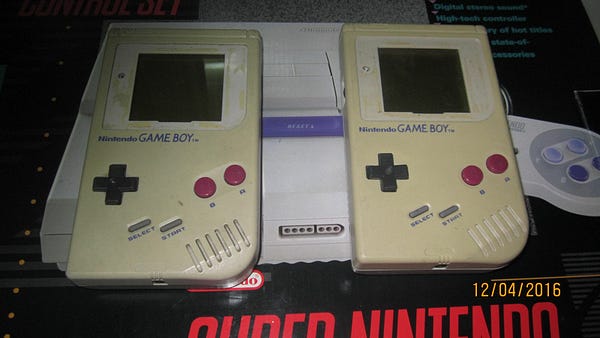
It is pretty common to have the Nintendo case pretty old and nasty, in order to make it look better you can buy peroxide (agua oxigenáda) and put the case in a container and fill it with the peroxide and leave it there for 3 days, here some pics
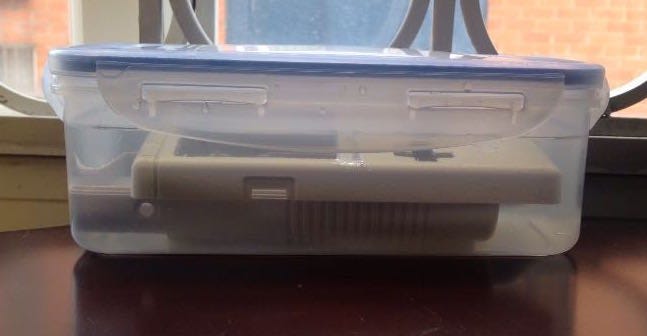
More pics
.